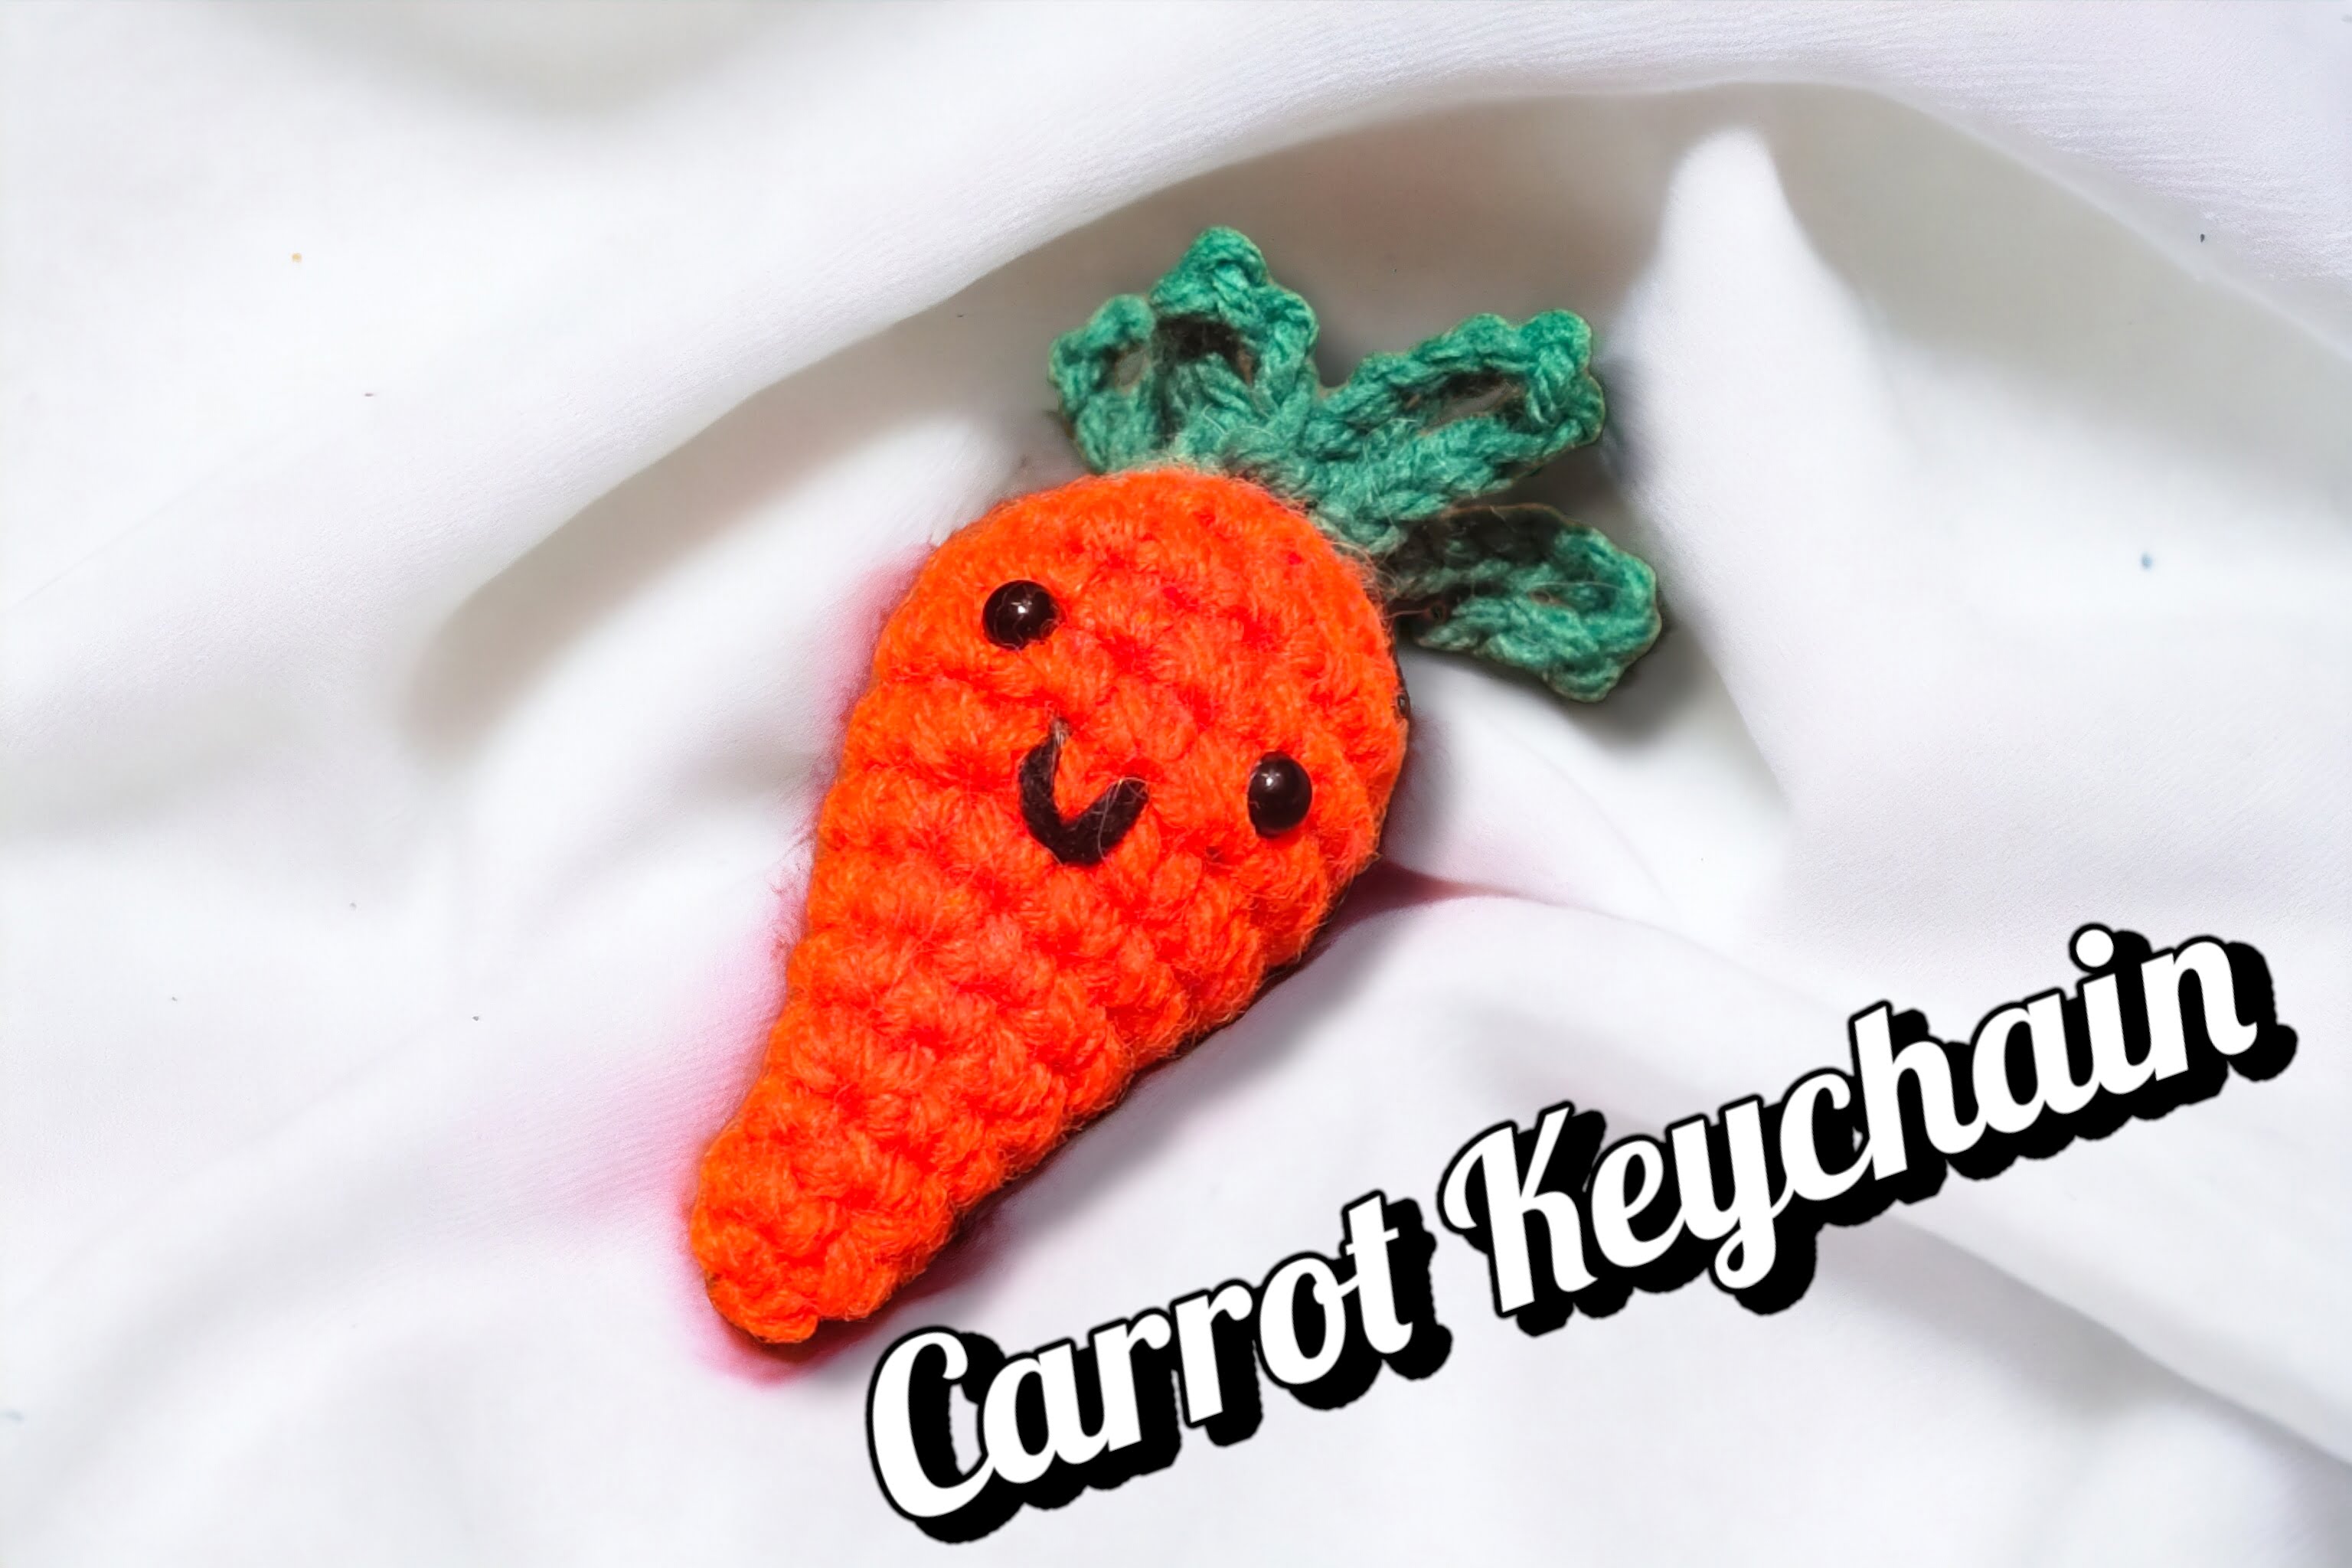
This adorable crocheted carrot keychain is absolutely perfect for spring! With its vibrant orange color and cute design, it is sure to add a delightful touch to your keys or bags. And the best part is, it’s super easy to make with a no-sew pattern.
Get the Ad Free Printable Version Here

Get the Ad Free Printable Version Here
Keep reading for the Free Version
To make your crocheted carrot keychain even more charming, why not add different faces to each one? You can create a variety of expressions such as happy, surprised, or even mischievous. It’s a great way to personalize your keychain and make it truly unique.
The first step is to gather the materials you’ll need: a crochet hook, soft yarn in a vibrant orange shade, a small amount of green yarn for the carrot tops, a tapestry needle, and a keychain ring. Once you have all your supplies, you can start crocheting!
Begin by creating a magic ring and working single crochet stitches into it. Continue stitching in the round to form the body of the carrot. You can adjust the size of your keychain by adding or decreasing stitches accordingly.
Once you’ve reached the desired length, it’s time to add the carrot top. Take the green yarn and crochet a small cluster of chains for the foliage. Attach it to the top of the carrot and secure it with a few stitches.
Now comes the fun part – adding faces! Use contrasting yarn or embroidery thread to create different expressions on each carrot. You can sew on eyes, noses, and even mouths. Let your creativity run wild and bring these adorable characters to life!
Once you’re satisfied with the faces, attach the keychain ring to the top of the carrot. This will allow you to easily attach it to keys, bags, or even zippers.
Voila! You’ve created a delightful crocheted carrot keychain that’s perfect for spring. Make a bunch of them with different faces and share them with your friends and loved ones. They’ll make wonderful gifts or cute accessories for any season.
So why wait? Grab your crochet hook and get started on this fun and easy project. Happy crocheting! 🥕🧶

Gauge
Using single crochet
3.5 mm hook
16 stitches by 18 rows = 4 inch square.
Supplies needed:
Medium worsted yarn
Bernat Premium Yarn Orange – 10 yards
Mainstay Acrylic Green – 3.5 yards
Crochet hook – I used 3.5mm but you can use what you would like. Size will change
Yarn needle
Scissors
Stuffing
Stitch marker
Crochet Techniques to Know
Here are the basic crochet stitches we’ll use in this project.
Slip Stitch (sl st): To make a slip stitch, insert the hook into the stitch, yarn over, and pull through both the stitch and the loop on the hook.
Single Crochet (sc): To make a single crochet, insert the hook into the stitch, yarn over, and pull up a loop (2 loops on the hook). Yarn over again and pull through both loops to complete the stitch.
Half Double Crochet (hdc): This stitch is taller than a single crochet. To make an hdc, yarn over, insert the hook into the stitch, yarn over, and pull up a loop (3 loops on hook). Yarn over again and pull through all 3 loops to complete the stitch.
Working in the Back Loops (blo): Normally, we work through both top loops of a stitch. But in this project, we’ll work in the back loops only to create a ribbed texture. To do this, insert the hook under the back loop only. Then, complete the stitch as usual.
Terms and Abbreviations
Here are the crochet abbreviations used in this pattern. Note that all instructions are written in US terms.
FLO = front loops only
BLO = back loops only
ch = chain(s)
dc = double crochet
FLOdc = front loops only double crochet
hdc = half double crochet
sc = single crochet
sl st = slip stitch
st(s) = stitch(es)

Carrot Keychain Pattern
In orange yarn. Stuff as you go. Attach eyes between rows 9 and 10 with 3 stitches in between
1. 3sc in mr (3)
2. (Inc) (6)
3. Sc around (6)
4. (Sc, inc) (9)
5. Sc around (9)
6. (2sc, inc) (12)
7. Sc around (12)
8. (3sc, inc) (15)
9. Sc around (15)
10. (4sc, inc) (18)
11. Sc around (18)
12. (Sc, dec) (12)
13. (Dec)
Using the back loops close the hole.
Attach green yarn using a sl st to the front loops of round 13.
Ch12, sl st into same base stitch
Sl st, ch7, sl st into same base
Sl st, ch12, sl st into same base
Sl st, ch10, sl st into same base
Sl st, ch7, slst into same base stitch, sl st into very first chain
Finish off
Attach a keychain to the back of the carrot and add a smile.
Tada! You have finish with your adorable carrot keychain

This pattern is for PERSONAL USE ONLY. The pattern and or parts of it may not be reproduced, translated, altered for sale or for free. You may NOT MASS produce plushies made by this pattern in crochet or inspired by this pattern in other mediums. You may sell your item with this pattern in limited quantities
Please give credit that this pattern was designed by:
Julia Pilling
Facebook page: Julias Stuff and Crochet
Instagram: JuliasstuffnCrochet
Email: juliasstuffncrochet@gmail.com
Join our facebook group Christmas Crochet and Amigurumi Patterns
If you have any questions about my patterns please contact me anytime.
More From us
Follow us on social media
Instagram: https://www.instagram.com/sugarsweetstreetbakery/
Pinterest: https://www.pinterest.ca/sugarsweetst/
Twitter: https://mobile.twitter.com/street_bakery
Website: https://sugarsweetstreetbakery.ca
Share this:

Related Posts


Leave a Reply