Your cart is currently empty!
How to Make a Homer Donut Turtle
The adorable and quirky world of nerdy crochet patterns has just gotten even more exciting with the introduction of the ‘Homer Donut Turtle.’ This unique pattern combines elements from two beloved pop culture icons – Homer Simpson from ‘The Simpsons’ and his famous pink frosted donut, along with the cute and slow-moving turtle. Designed for crochet enthusiasts and fans of the show alike, this pattern is a fun and playful addition to any collection.

Get the Ad Free Printable Version Here
Keep reading for the Free Version

Get the Ad Free Printable Version Here
Advertisements
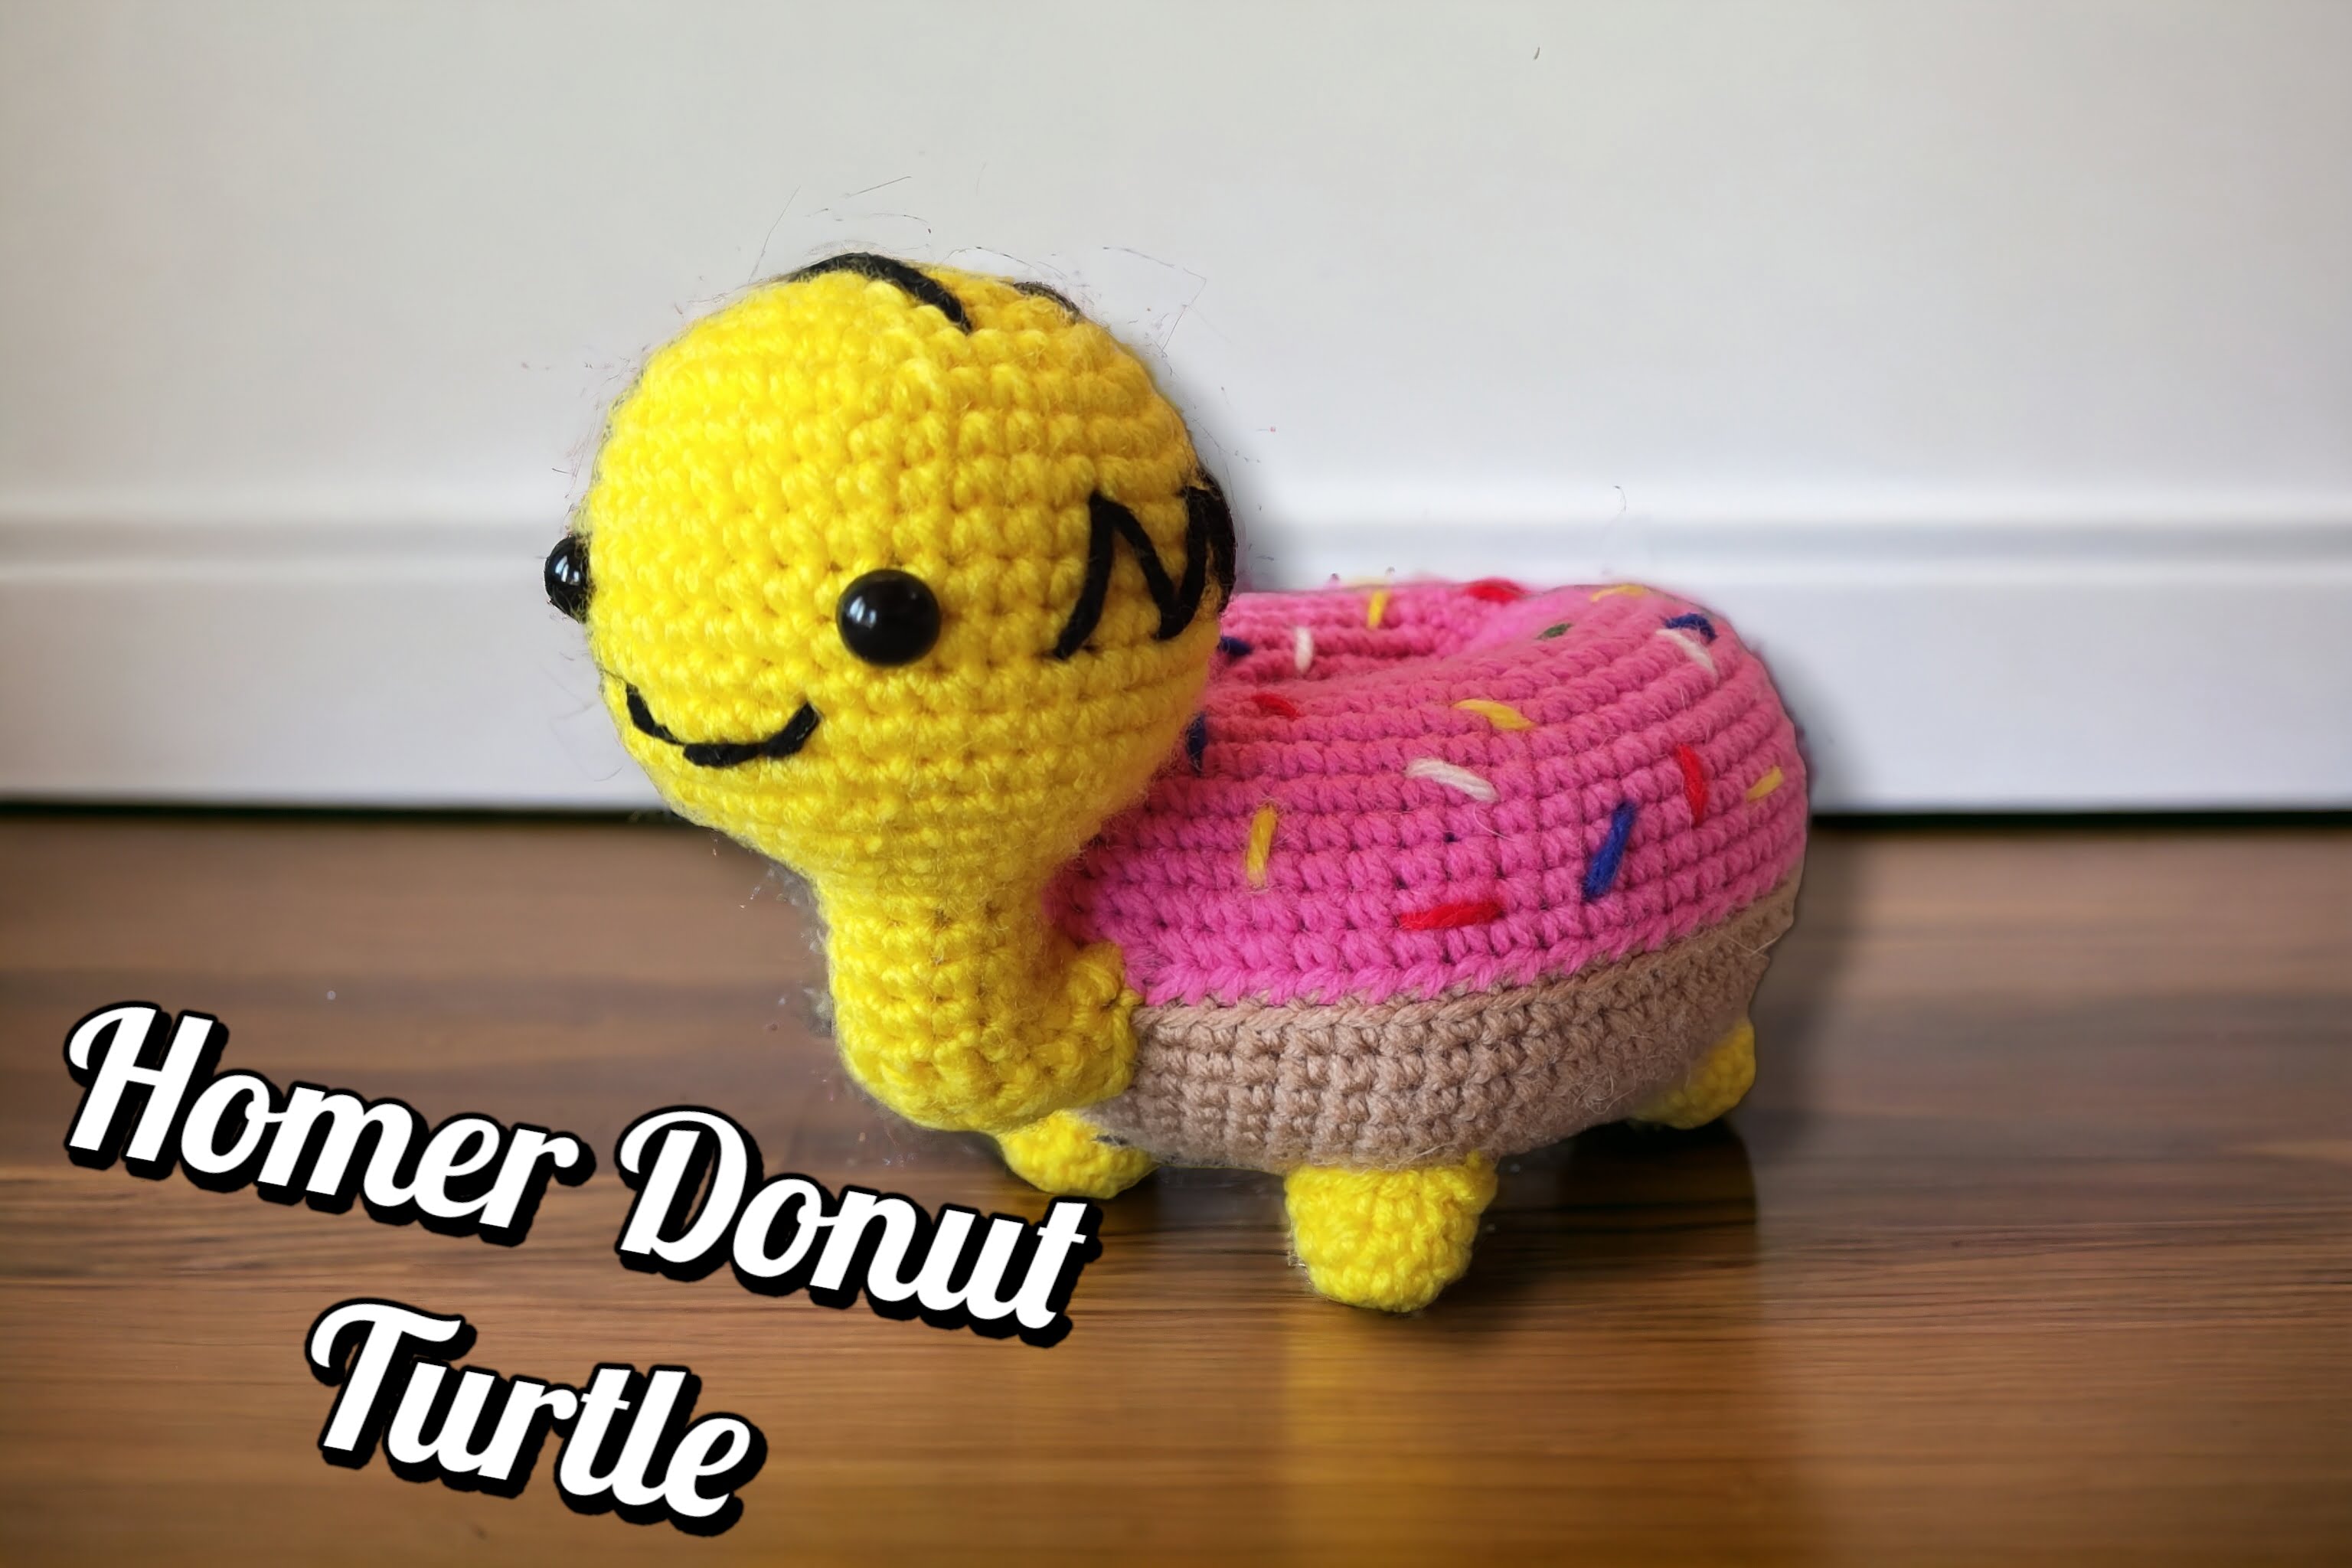
The Homer Donut Turtle begins with the base of a traditional turtle amigurumi, complete with a round shell and four little legs. However, that is where the similarities to a regular turtle end. The shell of this crochet turtle has been cleverly designed to resemble Homer Simpson’s favorite snack – the pink frosted donut. With a shade of pink yarn and a sprinkle design on the shell, this turtle is instantly recognizable as a tribute to the iconic cartoon character.
But the cuteness doesn’t stop there. To truly capture Homer Simpson’s essence, this turtle also features a crocheted version of his face. This turtle is a spitting image of the lovable TV dad.
The Homer Donut Turtle pattern is not only a fun and creative project for crochet enthusiasts, but it also serves as a reminder of the power of pop culture in our lives. The fact that a simple crochet pattern can bring together two completely different worlds and create something so adorable and unique is a testament to the impact that these characters have on us. So whether you’re a fan of ‘The Simpsons’ or just love all things cute and crochet, the Homer Donut Turtle is a must-have addition to your collection.
Advertisements
Homer Donut Turtle Pattern
Gauge
Using single crochet
3.5 mm hook
16 stitches by 18 rows = 4 inch square.
Advertisements
Supplies needed:
Medium worsted yarn
Mainstay Acrylic Pink – 53 yards
Mainstay Cozy Yarn Sandstone – 52.5 yards
Bernat Premium Yarn Yellow Balloon – 55.5 yards
Advertisements
Crochet hook – I used 3.5mm but you can use what you would like. Size will change
Yarn needle
Scissors
Stuffing
Stitch marker
Advertisements
Crochet Techniques to Know
Here are the basic crochet stitches we’ll use in this project.
Slip Stitch (sl st): To make a slip stitch, insert the hook into the stitch, yarn over, and pull through both the stitch and the loop on the hook.
Single Crochet (sc): To make a single crochet, insert the hook into the stitch, yarn over, and pull up a loop (2 loops on the hook). Yarn over again and pull through both loops to complete the stitch.
Advertisements
Half Double Crochet (hdc): This stitch is taller than a single crochet. To make an hdc, yarn over, insert the hook into the stitch, yarn over, and pull up a loop (3 loops on hook). Yarn over again and pull through all 3 loops to complete the stitch.
Working in the Back Loops (blo): Normally, we work through both top loops of a stitch. But in this project, we’ll work in the back loops only to create a ribbed texture. To do this, insert the hook under the back loop only. Then, complete the stitch as usual.
Advertisements
Terms and Abbreviations
Here are the crochet abbreviations used in this pattern. Note that all instructions are written in US terms.
FLO = front loops only
BLO = back loops only
ch = chain(s)
dc = double crochet
FLOdc = front loops only double crochet
hdc = half double crochet
sc = single crochet
sl st = slip stitch
st(s) = stitch(es)
Advertisements


Get the Ad Free Printable Version Here
Homer Turtle Donut Pattern
Donut
In sandstone yarn
1. Ch25, connect using a sc to create a circle
Advertisements
2.- 3. Sc around for 2 rounds (25)
4. (4sc, inc) (30)
5. (5sc, inc) (35)
6. (6sc, inc) (40)
Advertisements
7. (7sc, inc) (45)
8. (8sc, inc) (50)
9. (9sc, inc) (55)
10. (10sc, inc) (60)
Advertisements
11. Sc around for 6 rounds (60)
Finish off and weave ends in.
In Pink create a second shell for the donut. Leave a tail for sewing at the start. We will call this the first tail
1. Ch25, connect using a sc to create a circle
Advertisements
2.- 3. Sc around for 2 rounds (25)
4. (4sc, inc) (30)
5. (5sc, inc) (35)
6. (6sc, inc) (40)
Advertisements
7. (7sc, inc) (45)
8. (8sc, inc) (50)
9. (9sc, inc) (55)
10. (10sc, inc) (60)
Advertisements
11. Sc around for 6 rounds (60)
Finish off and leave a tail for sewing. We will call this the second tail
Using the first tail sew together. Flip to the wrong side of both shells, sew the start of the shells together. Hide the tail.
Using the second tail sew together. Flip to the right side on both shells and sew the donut closed. Stuff as you sew closed
Advertisements
Head
In yellow. Place eyes on the other side of the stitch marker. Stuff as you go.
1. 6sc in mr (6)
2. (Inc) (12)
3. (Sc, inc) (18)
Advertisements
4. (2sc, inc) (24)
5. (3sc, inc) (30)
6. (4sc, inc) (36)
7.- 14. Sc around for 8 rounds (36)
Advertisements
15. (4sc, dec) (30)
16. (3sc, dec) (24)
17. (2sc, dec) (18)
18. (Sc, dec) (12)
Advertisements
19.- 21. Sc around for 3 rounds (12)
22. 3sl st, 6sc, 3sl st (12)
23. 4sl st, 6hdc, 2sl st (12)
24. 4sl st, 4hdc, 4sl st (12)
Advertisements
25. 3sl st, 6hdc, 3sc (12)
26. 4sl st, 6sc, 2sl st (12)
27. Sc around (12)
Finish off, pin and sew into place.
Advertisements
Legs
In yellow. Make 4. Stuff when sewing on.
1. 6sc in mr (6)
2. (Inc) (12)
Advertisements
3.- 4. Sc around for 2 rounds (12)
Finish off, pin and sew into place.
Tail
In yellow. Do not stuff.
Advertisements
1. 3sc in mr (3)
2. (Inc)x3 (6)
3. (Sc, inc) (9)
4. (2sc, inc) (12)
Advertisements
5. Sc around (12)
Finish off, pin and sew into place.
Add sprinkles to the donut, use colours red, blue, green, yellow and white. Add Homer’s hair lines and a smile.
Advertisements
Tada! You have finished your adorable Homer donut turtle

This pattern is for PERSONAL USE ONLY. The pattern and or parts of it may not be reproduced, translated, altered for sale or for free. You may NOT MASS produce plushies made by this pattern in crochet or inspired by this pattern in other mediums. You may sell your item with this pattern in limited quantities
Advertisements
Please give credit that this pattern was designed by:
Julia Pilling
Facebook page: Julias Stuff and Crochet
Instagram: JuliasstuffnCrochet
Email: juliasstuffncrochet@gmail.com
Join our facebook group Christmas Crochet and Amigurumi Patterns
If you have any questions about my patterns please contact me anytime.

Advertisements
More From us
Advertisements
Advertisements
Follow us on social media
Instagram: https://www.instagram.com/sugarsweetstreetbakery/
Pinterest: https://www.pinterest.ca/sugarsweetst/
Twitter: https://mobile.twitter.com/street_bakery
Website: https://sugarsweetstreetbakery.ca
Share this:

Related Posts

Peanut the elephant is the cutest creature you will ever...

Ned Flanders is a beloved character from the iconic animated...


Crafting a no-sew heart octopus is an incredibly delightful activity...

Dumplin the elephant is indeed a delightful sight to behold....

by
Leave a Reply