These adorable Christmas bell ornaments are not just easy to make, but they are also a wonderful way to add a touch of festive charm to your holiday décor. In less than 20 minutes, you can create a beautiful ornament that will bring joy and cheer to your Christmas tree.
Get the Ad Free Printable Version Here

Get the Ad Free Printable Version Here
Keep reading for the Free Version
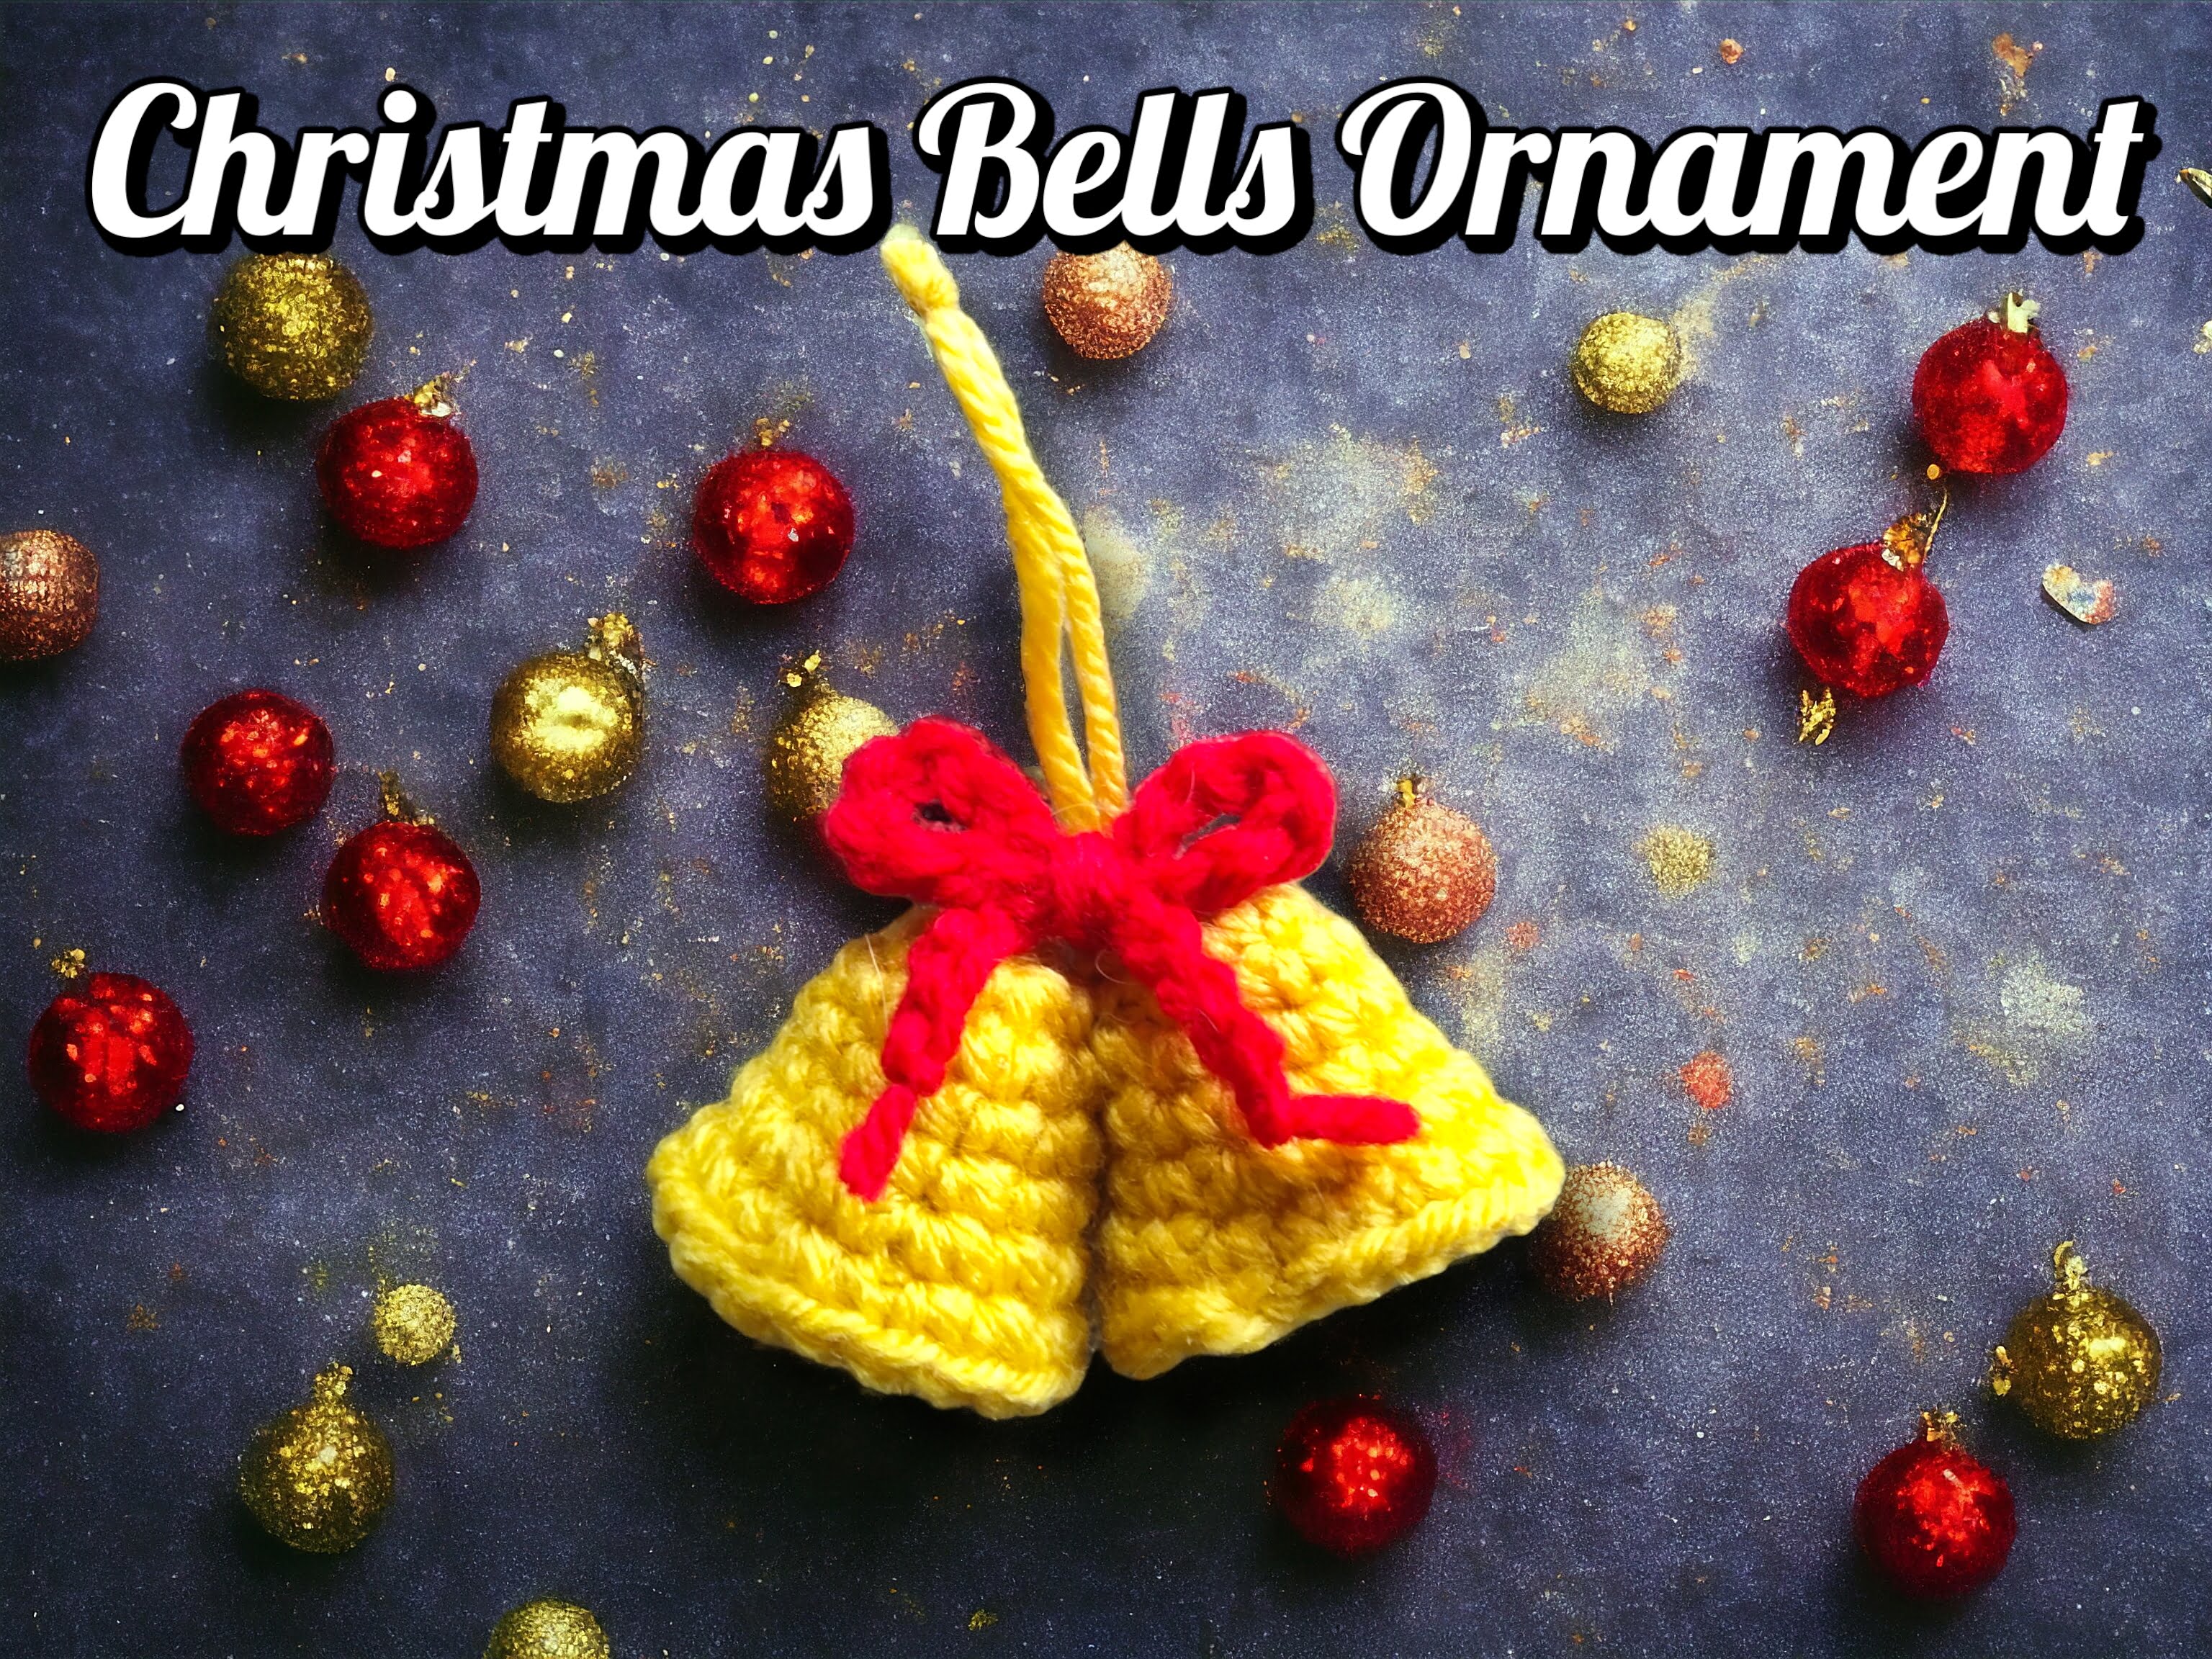
This charming Christmas bell ornament features not just one, but two jingling bells delicately hanging together. The sound of these bells will fill your home with the enchanting melody of the holiday season. To add an extra festive touch, the bells are elegantly tied together with a vibrant red ribbon, symbolizing love and warmth.
Whether you choose to keep this delightful ornament for yourself or gift it to someone special, it is sure to be treasured for years to come. Hang it on your tree, use it to adorn a wreath, or even incorporate it into your holiday table centerpiece. The possibilities are endless!
So, why wait? Embrace the spirit of the season and create this adorable Christmas bell ornament today. Let its cheerful presence fill your heart with holiday magic and create lasting memories for you and your loved ones.
Gauge
Using single crochet
3.5 mm hook
16 stitches by 18 rows = 4 inch square.
Supplies needed:
Medium worsted yarn
Mainstay Cozy Yarn Goldenrod – 13 yards
Mainstay Cozy Yarn Poppy – 2.5 yards
Crochet hook – I used 3.5mm but you can use what you would like. Size will change
Yarn needle
Scissors
Stuffing
Stitch marker
Crochet Techniques to Know
Here are the basic crochet stitches we’ll use in this project.
Slip Stitch (sl st): To make a slip stitch, insert the hook into the stitch, yarn over, and pull through both the stitch and the loop on the hook.
Single Crochet (sc): To make a single crochet, insert the hook into the stitch, yarn over, and pull up a loop (2 loops on the hook). Yarn over again and pull through both loops to complete the stitch.
Half Double Crochet (hdc): This stitch is taller than a single crochet. To make an hdc, yarn over, insert the hook into the stitch, yarn over, and pull up a loop (3 loops on hook). Yarn over again and pull through all 3 loops to complete the stitch.
Working in the Back Loops (blo): Normally, we work through both top loops of a stitch. But in this project, we’ll work in the back loops only to create a ribbed texture. To do this, insert the hook under the back loop only. Then, complete the stitch as usual.
Terms and Abbreviations
Here are the crochet abbreviations used in this pattern. Note that all instructions are written in US terms.
FLO = front loops only
BLO = back loops only
ch = chain(s)
dc = double crochet
FLOdc = front loops only double crochet
hdc = half double crochet
sc = single crochet
sl st = slip stitch
st(s) = stitch(es)

Get the Ad Free Printable Version Here
Christmas Bell Ornament
Bell
In goldenrod, make 2. Don’t crochet over the tail of the magic ring as we will use it.
1. 6sc in mr (6)
2. (Inc) (12)
3.- 5. Sc around for 3 rounds (12)
6. (Sc, inc) (18)
7. Sc around (18)
Finish off and weave tail in.
Use the tail from the mr and tie a knot until you like the size and it hangs just outside of the bell.
Create a second bell and attach using another piece of yarn. Sew together using two stitches from each bell. Pull tails out one per bell and create a loop for hanging.
Bow
Ch28 and finish off.
Create a loop like the one pictured

Pinch together between the ends and the top of the loop, using extra red yarn, tie a knot, before tightening, adjust the bow until you like it.
Pull tight and wrap yarn around the middle tightly 5-10 times. Tie a knot on the back of the bow, these tails will be used to attach to bells. Cut the tails of the chain
Attach to bells using the loop for hanging. Tie knot tightly and gently pull the bow down to the bell. Cut tails.
Tada!! You are finished with your Christmas Bell Ornament!

This pattern is for PERSONAL USE ONLY. The pattern and or parts of it may not be reproduced, translated, altered for sale or for free. You may NOT MASS produce plushies made by this pattern in crochet or inspired by this pattern in other mediums. You may sell your item with this pattern in limited quantities
Please give credit that this pattern was designed by:
Julia Pilling
Facebook page: Julias Stuff and Crochet
Instagram: JuliasstuffnCrochet
Email: juliasstuffncrochet@gmail.com
If you have any questions about my patterns please contact me anytime.
More From us
Follow us on social media
Instagram: https://www.instagram.com/sugarsweetstreetbakery/
Pinterest: https://www.pinterest.ca/sugarsweetst/
Twitter: https://mobile.twitter.com/street_bakery
Website: https://sugarsweetstreetbakery.ca
Share this:

Related Posts


Leave a Reply