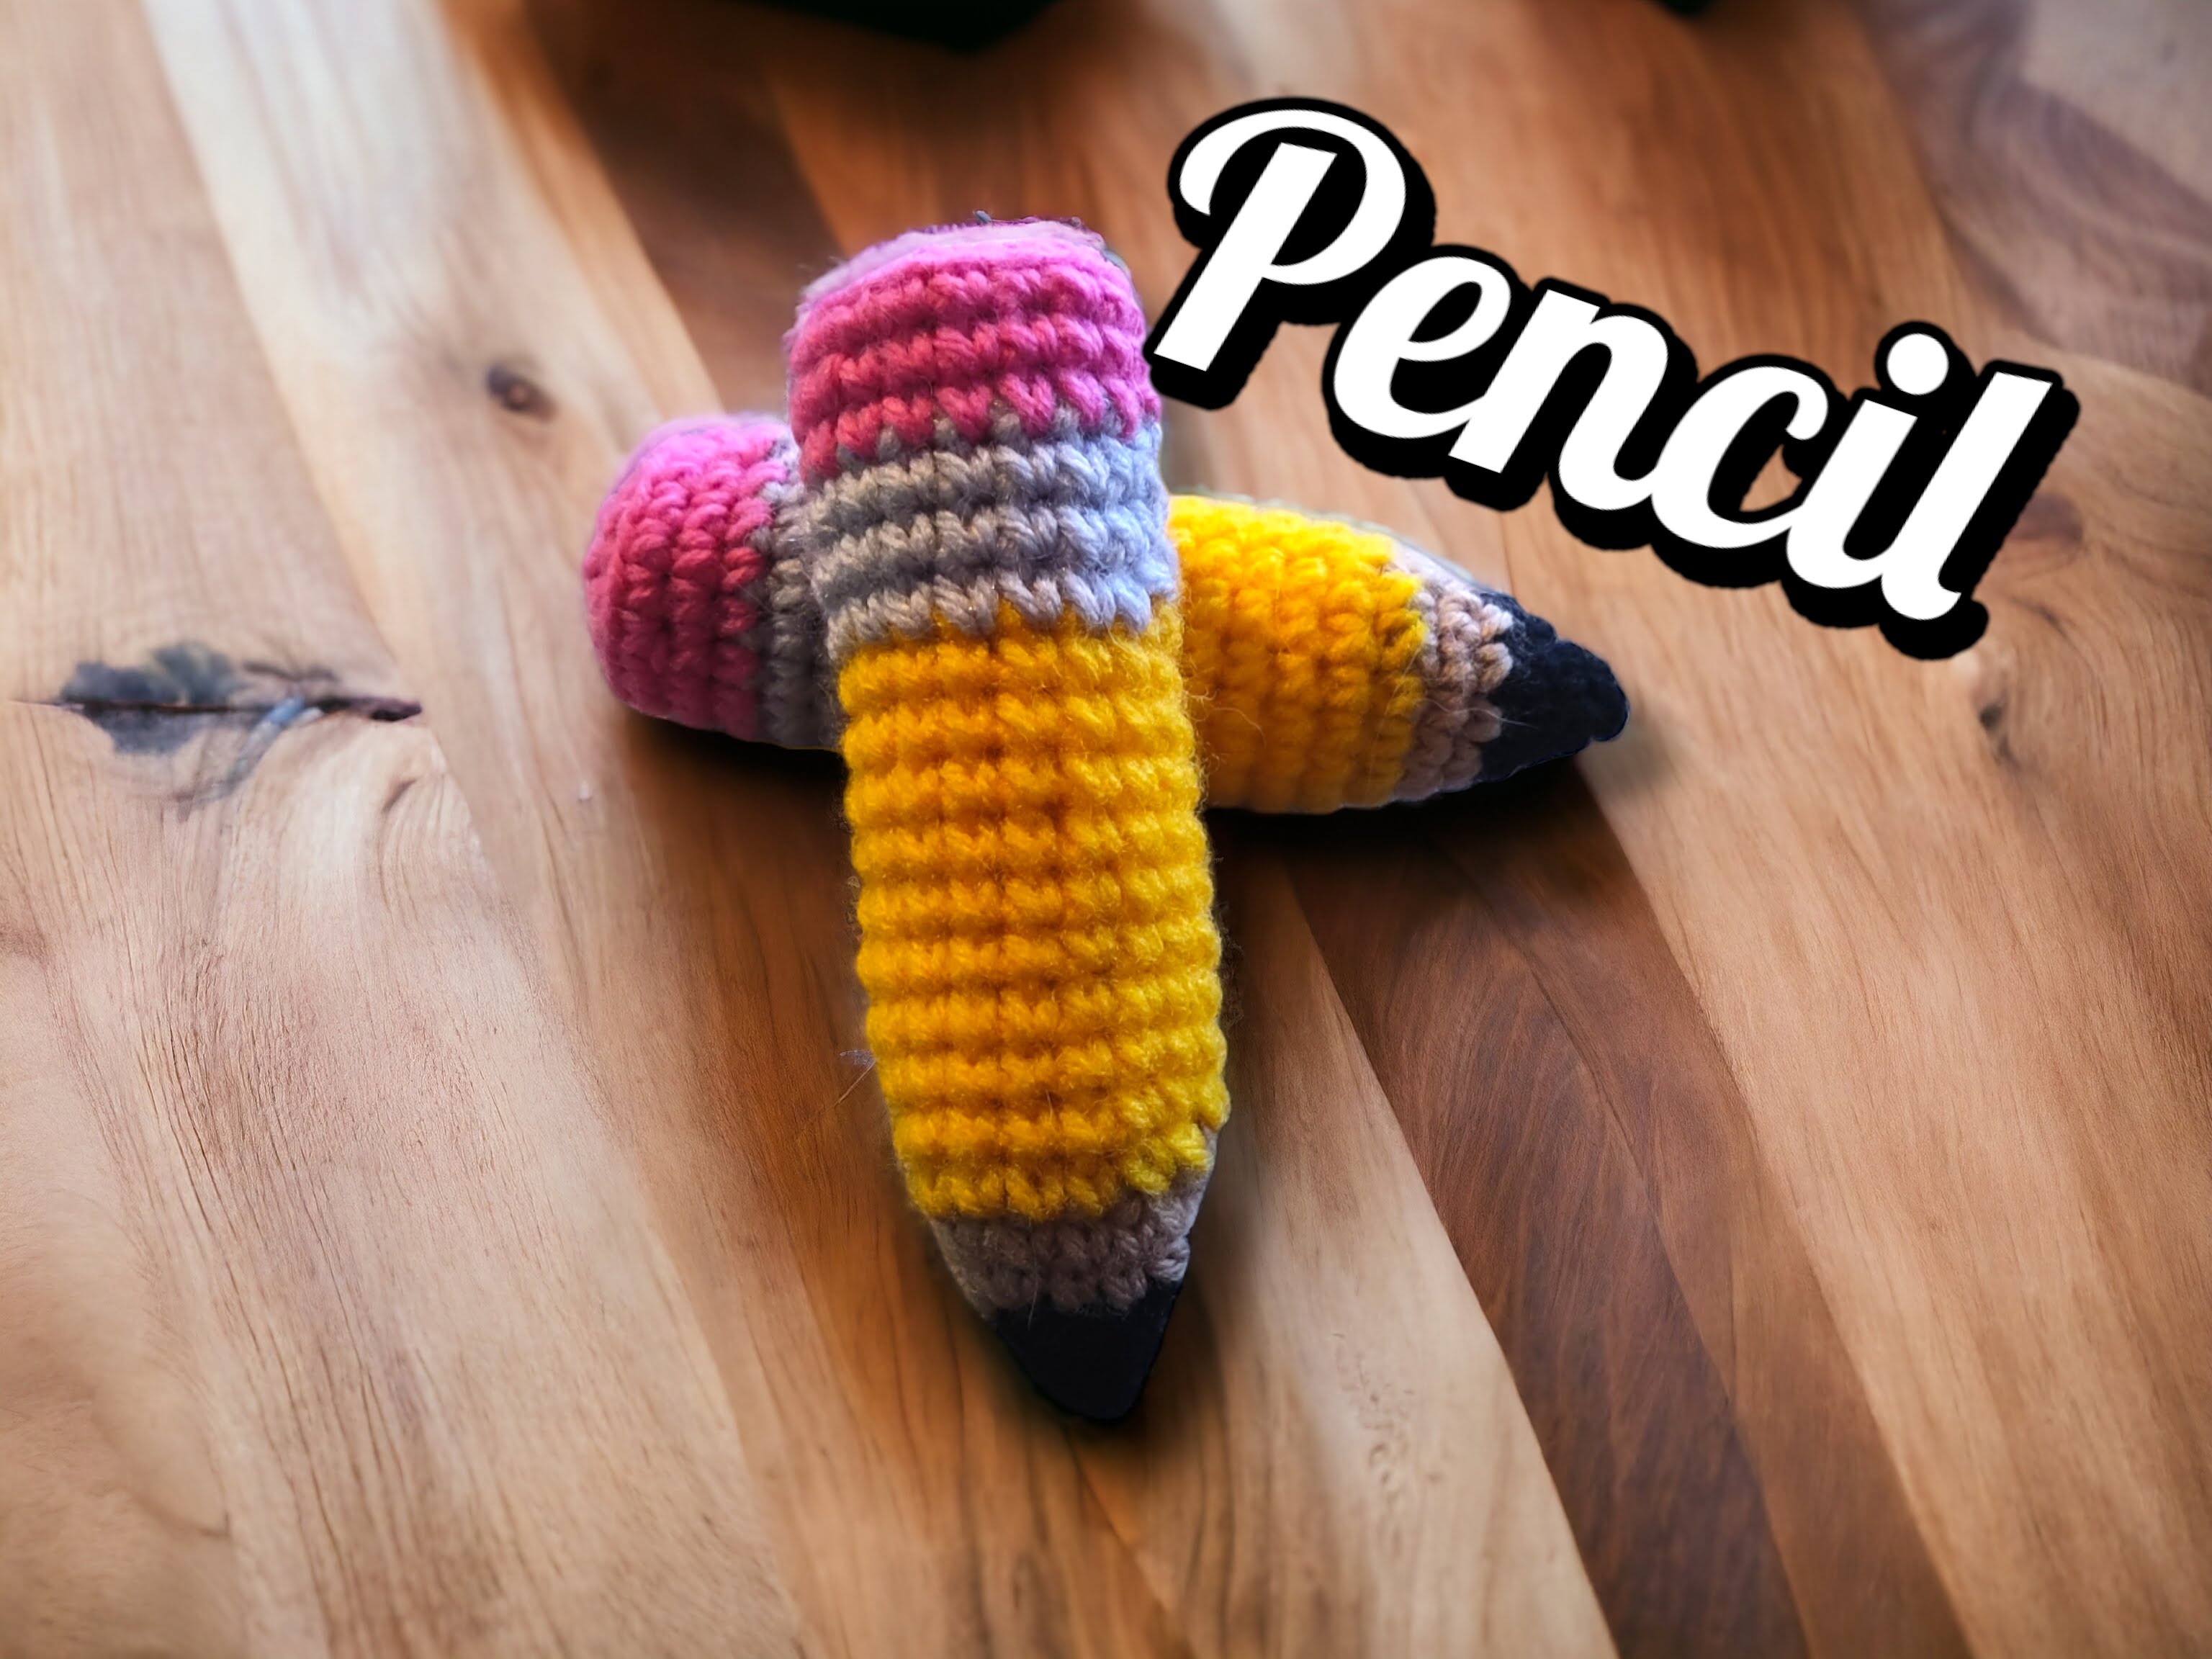
To create this adorable crochet pencil, you’ll be delighted to know that it’s an incredibly easy pattern that requires no sewing! With just five colors, you can achieve a realistic look that will surely impress anyone who lays eyes on it.

Get the Ad Free Printable Version Here
Keep reading for the Free Version
Not only is this crochet pencil a fun project to work on, but it also offers endless possibilities for customization. You can truly make it your own by adding charming details like a friendly face or even by personalizing it with words or messages. Imagine how thrilled a teacher would be to receive such a thoughtful and unique gift!
Whether you’re an experienced crocheter or just starting out, this pattern is suitable for all skill levels. The step-by-step instructions will guide you through each stitch, ensuring a successful and enjoyable crafting experience. Additionally, the materials required for this project are readily available, making it even more convenient to dive into this creative endeavor.
Once completed, this crochet pencil will serve not only as a lovely decorative piece but also as a constant reminder of your handmade warmth and appreciation. It’s the perfect gift to show gratitude to educators who play such a vital role in shaping young minds.
So, why wait? Grab your crochet hook, choose your colors, and immerse yourself in the joy of creating this super easy crochet pencil pattern. Happy crafting!
Gauge
Using single crochet
3.5 mm hook
16 stitches by 18 rows = 4 inch square.
Supplies needed:
Medium worsted yarn – 26 yards
Mainstay Cozy Yarn Black – 2.5 yards
Mainstay Cozy Yarn Sandstone – 2.5 yards
Red Heart Comfort Versatile Yellow – 12.5 yards
Red Heart Super Saver Light Grey – 4 yards
Mainstay Acrylic Yarn Pink – 5 yards
Crochet hook – I used 3.5mm but you can use what you would like. Size will change
Yarn needle
Scissors
Stuffing
Stitch marker
Crochet Techniques to Know
Here are the basic crochet stitches we’ll use in this project.
Slip Stitch (sl st): To make a slip stitch, insert the hook into the stitch, yarn over, and pull through both the stitch and the loop on the hook.
Single Crochet (sc): To make a single crochet, insert the hook into the stitch, yarn over, and pull up a loop (2 loops on the hook). Yarn over again and pull through both loops to complete the stitch.
Half Double Crochet (hdc): This stitch is taller than a single crochet. To make an hdc, yarn over, insert the hook into the stitch, yarn over, and pull up a loop (3 loops on hook). Yarn over again and pull through all 3 loops to complete the stitch.
Working in the Back Loops (blo): Normally, we work through both top loops of a stitch. But in this project, we’ll work in the back loops only to create a ribbed texture. To do this, insert the hook under the back loop only. Then, complete the stitch as usual.
Terms and Abbreviations
Here are the crochet abbreviations used in this pattern. Note that all instructions are written in US terms.
FLO = front loops only
BLO = back loops only
ch = chain(s)
dc = double crochet
FLOdc = front loops only double crochet
hdc = half double crochet
sc = single crochet
sl st = slip stitch
st(s) = stitch(es)

Get the Ad Free Printable Version Here

Pencil Pattern
Starting in black. Stuff as you go.
1. 3sc in mr (3)
2. (Inc)x3 (6)
3. (Sc, inc) (9)
4. (2sc, inc) (12)
Change colour to sandstone. Cut black.
5. (3sc, inc) (15)
6. (4sc, inc) (18)
Change colour to versatile yellow. Cut sandstone.
7.- 16. Sc around for 10 rounds (18)
Change colour to light grey. Cut yellow
17.- 19. Sc around for 3 rounds (18)
Change colour to pink. Cut grey.
20.- 22. Sc around for 3 rounds.
23. Blo (sc, dec)x6 (12)
24. (Dec) (6)
Close the hole. Weave tail into pencil
Tada! You are finished with your pencil.
Get the Ad Free Printable Version Here

This pattern is for PERSONAL USE ONLY. The pattern and or parts of it may not be reproduced, translated, altered for sale or for free. You may NOT MASS produce plushies made by this pattern in crochet or inspired by this pattern in other mediums. You may sell your item with this pattern in limited quantities
Please give credit that this pattern was designed by:
Julia Pilling
Facebook page: Julias Stuff and Crochet
Instagram: JuliasstuffnCrochet
Email: juliasstuffncrochet@gmail.com
If you have any questions about my patterns please contact me anytime.
More From us
Follow us on social media
Instagram: https://www.instagram.com/sugarsweetstreetbakery/
Pinterest: https://www.pinterest.ca/sugarsweetst/
Twitter: https://mobile.twitter.com/street_bakery
Website: https://sugarsweetstreetbakery.ca
Share this:

Related Posts


Leave a Reply