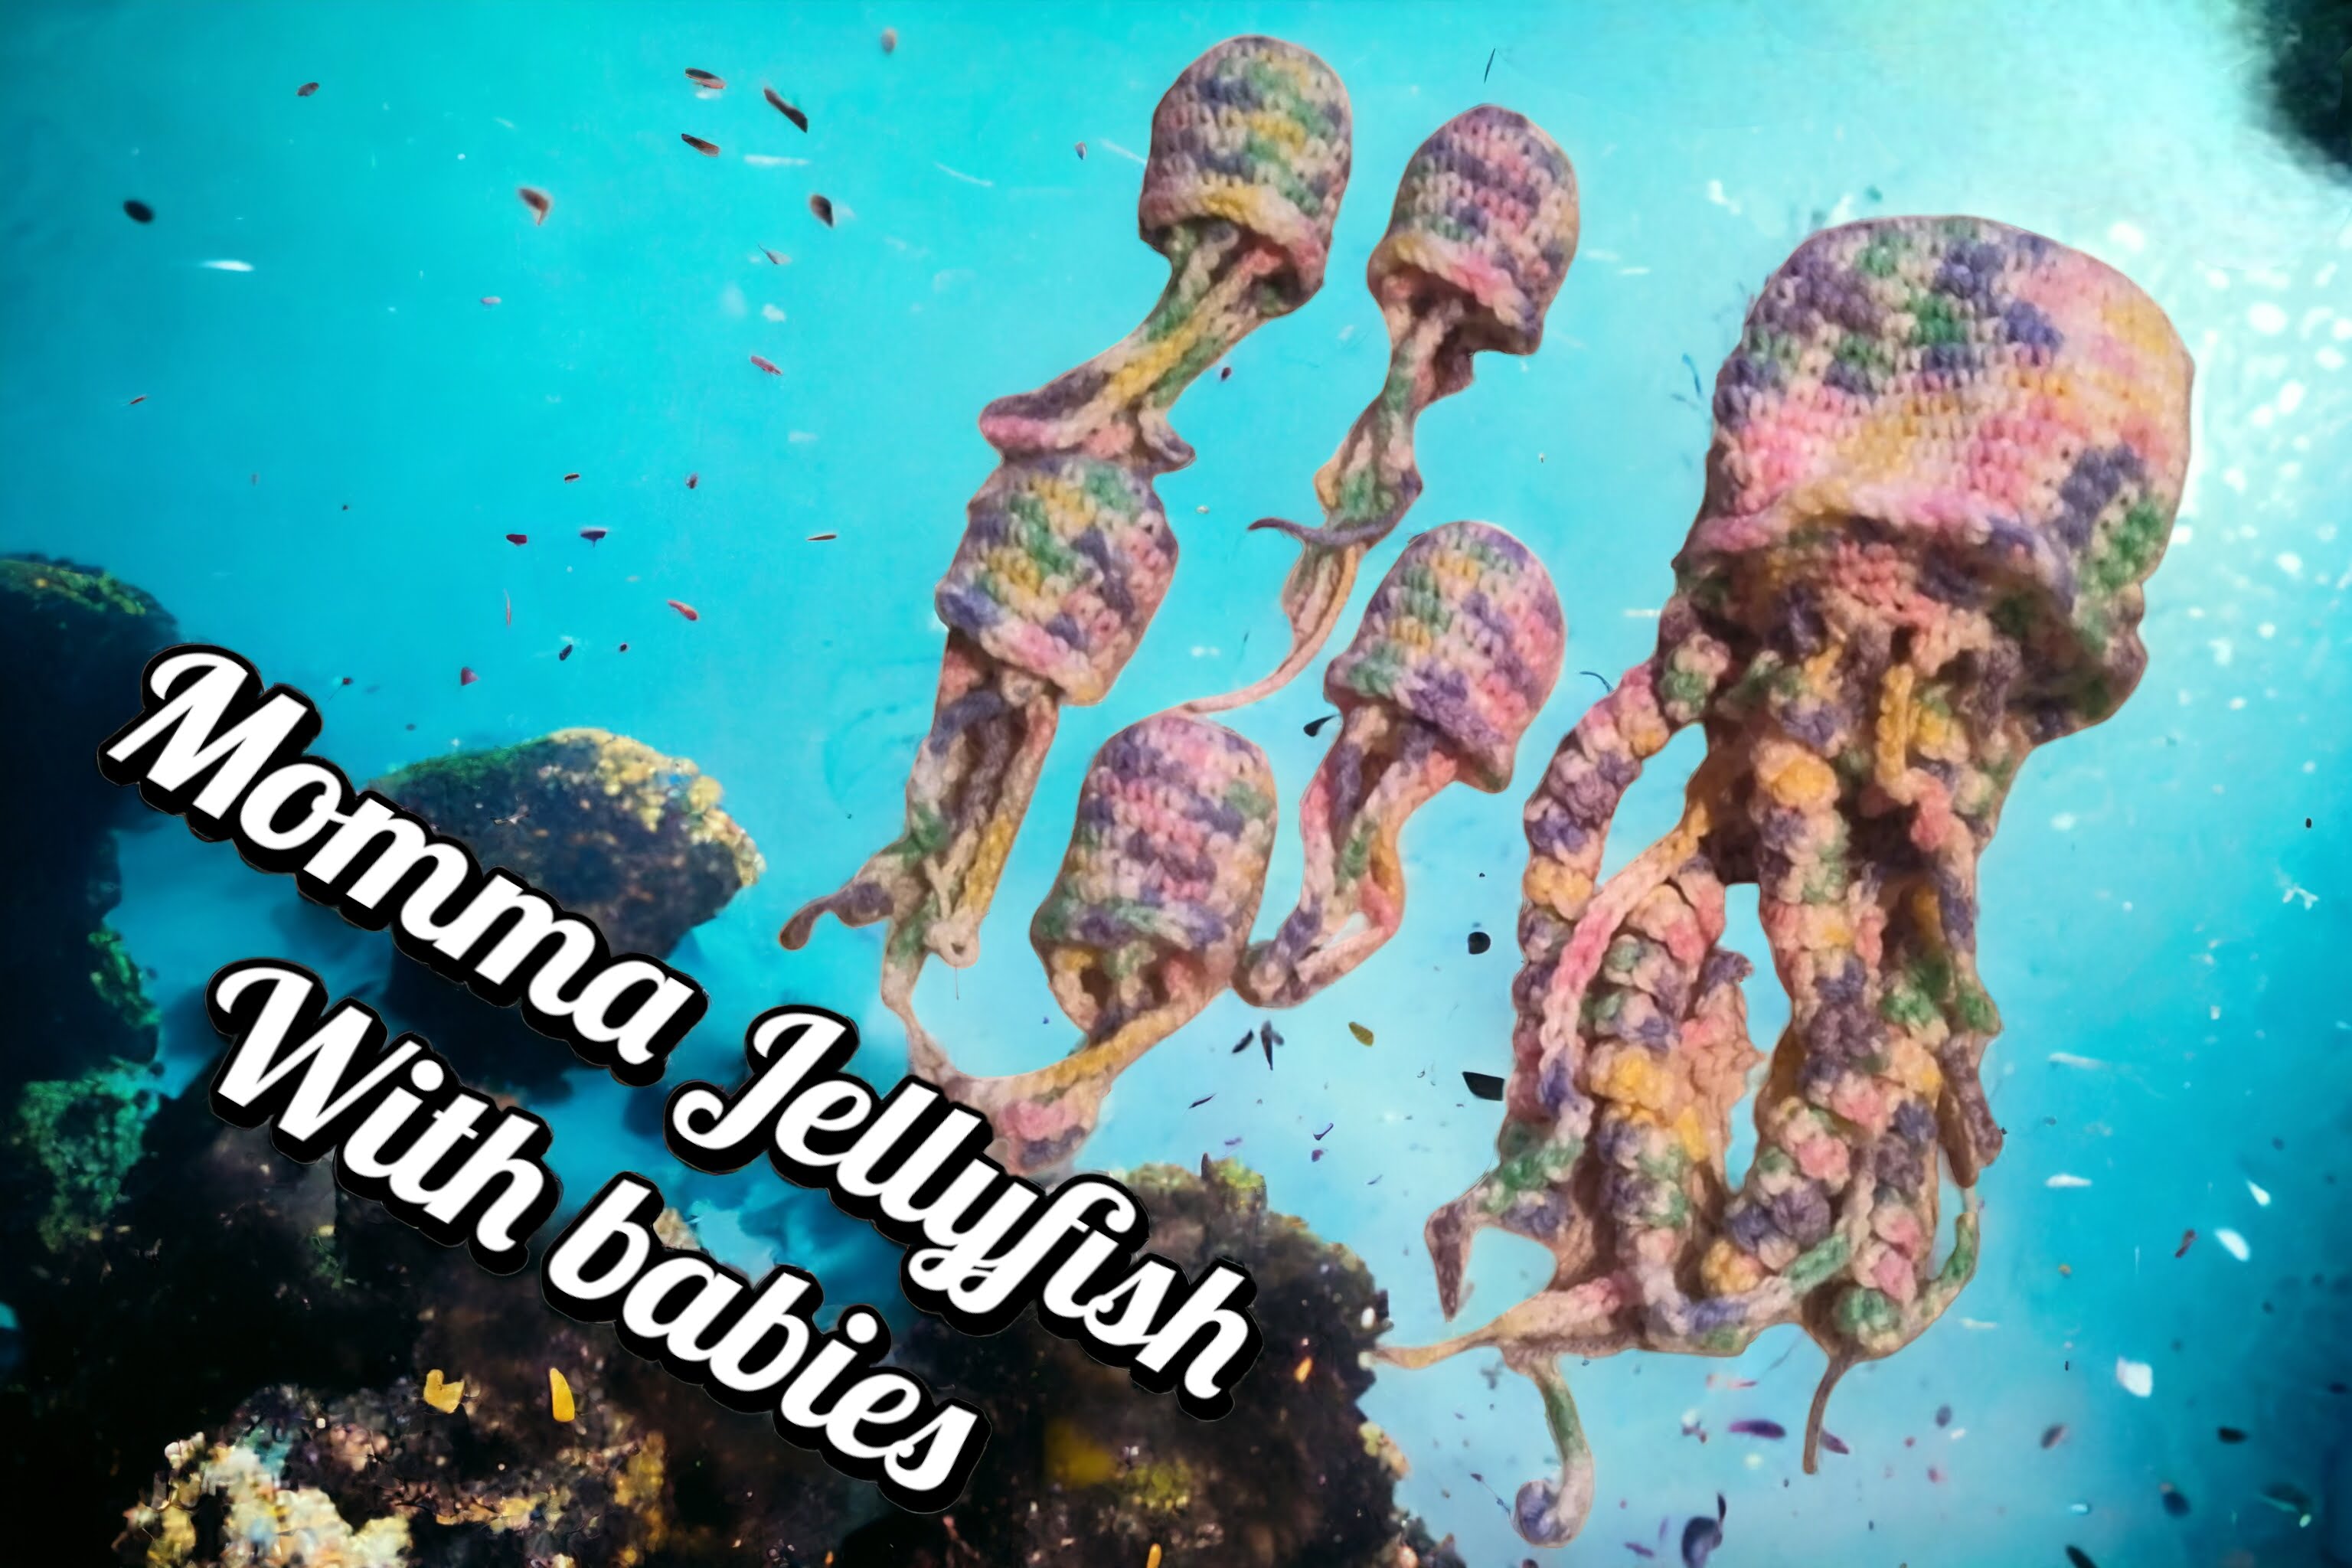
This simple Momma Jellyfish With Babies crochet pattern is not only adorable but also a great project for crochet enthusiasts. The beauty of this pattern lies in its simplicity. The momma jellyfish can carry all five of her babies, making it easy to keep them all together.

Get the Ad Free Printable Version Here
Keep reading for the Free Version
One of the best parts about creating your own Momma Jellyfish With Babies is the opportunity to add faces and create unique color combinations. You can let your creativity run wild and customize each jellyfish to your liking. Experiment with different expressions for the faces to give each jellyfish its own personality.
When it comes to color combinations, the possibilities are endless. You can go for a vibrant and colorful look, or opt for a more subtle and pastel palette. It all depends on your personal taste and the overall aesthetic you want to achieve.
Crocheting these adorable jellyfish can be a relaxing and enjoyable experience. It’s a wonderful way to unwind and express your creativity. Whether you’re a beginner or an experienced crocheter, this pattern is accessible and fun to work on. Plus, it makes for a great gift or decoration for a nursery or child’s room.
Don’t forget to share your creations with others! Join crochet communities or share your finished jellyfish on social media. Inspire and be inspired by fellow crochet enthusiasts who have also fallen in love with this pattern.
So go ahead and give the Momma Jellyfish With Babies crochet pattern a try. Get your hooks and yarn ready, and embark on a journey of crocheting cuteness. Enjoy the process and create something truly unique and special. Happy crocheting!
Gauge
Using single crochet
16 stitches by 18 rows = 4 inch square.
Supplies needed:
Medium worsted yarn – 203.5 yards
Crochet hook – I used 3.5mm but you can use what you would like. Size will change
Yarn needle
Scissors
Stuffing
Stitch marker
Crochet Techniques to Know
Here are the basic crochet stitches we’ll use in this project.
Slip Stitch (sl st): To make a slip stitch, insert the hook into the stitch, yarn over, and pull through both the stitch and the loop on the hook.
Single Crochet (sc): To make a single crochet, insert the hook into the stitch, yarn over, and pull up a loop (2 loops on the hook). Yarn over again and pull through both loops to complete the stitch.
Half Double Crochet (hdc): This stitch is taller than a single crochet. To make an hdc, yarn over, insert the hook into the stitch, yarn over, and pull up a loop (3 loops on hook). Yarn over again and pull through all 3 loops to complete the stitch.
Working in the Back Loops (blo): Normally, we work through both top loops of a stitch. But in this project, we’ll work in the back loops only to create a ribbed texture. To do this, insert the hook under the back loop only. Then, complete the stitch as usual.
Terms and Abbreviations
Here are the crochet abbreviations used in this pattern. Note that all instructions are written in US terms.
FLO = front loops only
BLO = back loops only
ch = chain(s)
dc = double crochet
FLOdc = front loops only double crochet
hdc = half double crochet
sc = single crochet
sl st = slip stitch
st(s) = stitch(es)
Get the Ad Free Printable Version Here

Get the Ad Free Printable Version Here
Momma Jellyfish
In the colour of your choice.
1. 6sc in mr (6)
2. (Inc) (12)
3. (Sc, inc) (18)
4. (2sc, inc) (24)
5. (3sc, inc) (30)
6. (4sc, inc) (36)
7. (5sc, inc) (42)
8. (6sc, inc) (48)
9. (7sc, inc) (54)
10.- 21. Sc around (54)
22. Blo (4sc, dec)x9 (45)
23. (3sc, dec) (36)
24. (2sc, dec) (27)
25. (Sc, dec) (18)
Sl st and finish off weave tail in.
22. Flo (8sc, inc) (60)
Sl st and finish off weave tail in.
Stinger/tentacles
Same colour as body
1. In round 25 attach yarn ch50 finish off and only weave tail in at the base
2.Skip one stitch
3.Attach in third stitch
3.1. Ch 51
3.2. 2Sc in second loop from hook, 2sc in each stitch until you reach the base (100)
Slst into base, finish off and weave tails in.
4.Skip one stitch
5.Attach in next stitch ch40 finish off and only weave tail in at the base
6. Skip one stitch and repeat step 3. (100)
7. Skip one stitch and repeat step 1.
8. Skip one stitch and repeat step 3. (100)
9. Skip one stitch and repeat step 5.
10. Skip one stitch and repeat step 3. (100)
11. Skip one stitch and repeat step 1.

Baby Jellyfish
Same colour as mom
1. 6sc in mr (6)
2. (Inc) (12)
3. (Sc, inc) (18)
4.- 9. Sc around for 6 rounds (18)
10. Blo (dec)x9 (9) … stuff
11. Sc, blo (dec)x4 (5)
Finish off and close the hole.
10. Flo (2sc, inc) (24)
Sl st and finish off, weave tails in.
Tentacles/stingers
Attach in front loop of round 11
1. ch10 finish off and weave tail into the body.
2. Skip one stitch, attach yarn and ch14 finish off and weave tail into the body.
Repeat steps 1 and 2.
5 baby jellyfish can fit into the mom while still being able to take the babies out with ease.
Yay! You are finished your Momma Jellyfish
Get the Ad Free Printable Version Here
This pattern is for PERSONAL USE ONLY. The pattern and or parts of it may not be reproduced, translated, altered for sale or for free. You may NOT MASS produce plushies made by this pattern in crochet or inspired by this pattern in other mediums. You may sell your item with this pattern in limited quantities
Please give credit that this pattern was designed by:
Julia Pilling
Facebook page: Julias Stuff and Crochet
Instagram: JuliasstuffnCrochet
Email: juliasstuffncrochet@gmail.com
If you have any questions about my patterns please contact me anytime.
More From us
Follow us on social media
Instagram: https://www.instagram.com/sugarsweetstreetbakery/
Pinterest: https://www.pinterest.ca/sugarsweetst/
Twitter: https://mobile.twitter.com/street_bakery
Website: https://sugarsweetstreetbakery.ca
Share this:

Related Posts


Leave a Reply